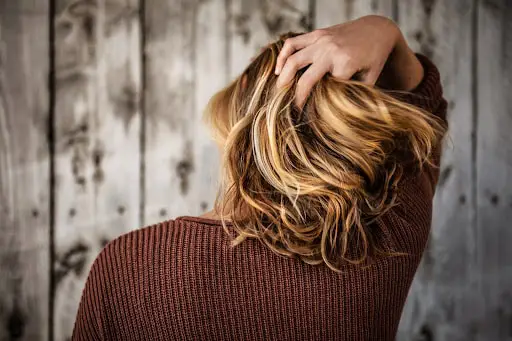

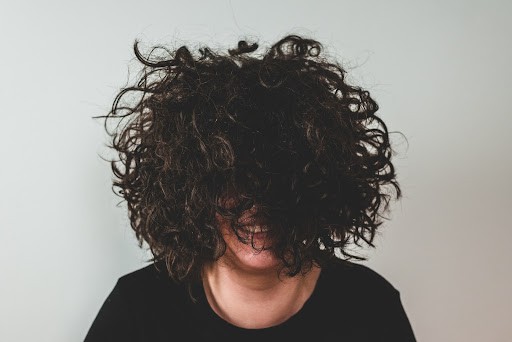
Straight hair makes quite a statement. This statement becomes even bolder when someone who typically wears their hair curly straightens it. With a little time and effort, even the tightest curls can become smooth and straight.
You can make curly hair straight by prepping it with the right shampoo and conditioner, using a leave-in conditioner and a heat protectant, dividing your hair into the right amount of sections, and straightening from the bottom up.
We’ll explain each one of these steps in detail in this article. We’ll also give you some useful tips for straightening curly hair and some common mistakes people make that you should avoid. Keep reading.
Preparing Your Curls
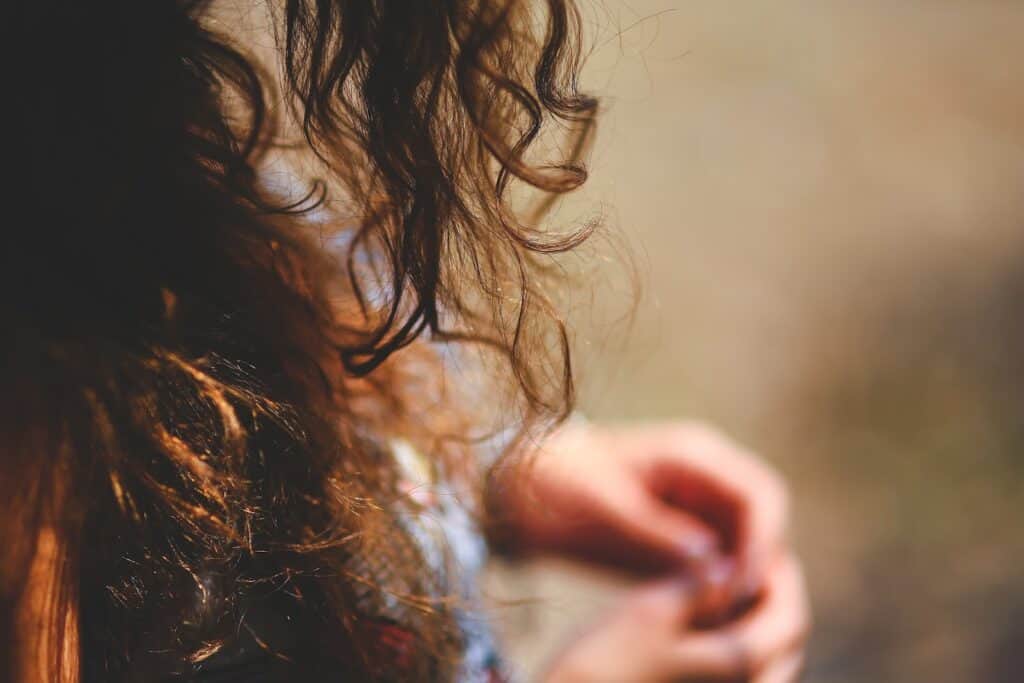
Curly hair tends to be on the drier side. So it is essential to prepare it properly before you start straightening. If you don’t, your hair will get damaged and lose its curl formation in a matter of days.
There are a couple of things you need to do. These include:
- Getting the right shampoo and conditioner
- Squeeze out extra moisture with a cotton t-shirt or towel
- Using leave-in conditioner
- Applying a heat-protectant

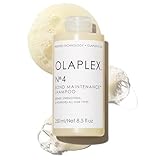


Getting The Right Shampoo and Conditioner
The correct shampoo and conditioner can drastically transform your hair. To straighten curls properly, you need clean and dry hair. These products help with the first step.
Curly hair requires sulfate and silicone-free products. They are the best for your hair since they’re made specifically for your hair type. While you can get by with any drugstore products you can get your hands on, they won’t suit you very well.
Irrespective of whether you’re straightening your hair or leaving it to air-dry, making sure it is healthy is essential in creating an eye-catching look. Healthy hair is shiny and smooth.
Moreover, since you’ll be exposing your hair to heat, which can damage it, it is important to take extra good care of your curls. Silicone and sulfate-free products are a dime a dozen these days, and you can easily find some that fit your budget.
Squeeze Out Extra Moisture With A Cotton T-Shirt or Towel
Use a microfiber shirt or towel to squeeze out excess moisture from your hair. Avoid using terry cloth towels because they’re too rough for hair and can cause major damage.
Squeeze your wet hair with the cloth of your choice until all excess moisture has been drained. Be gentle so that you don’t create unnecessary frizz and breakage.
Using Leave-In Conditioner
Rough and dry hair doesn’t look good irrespective of how you style it. Using a leave-in conditioner can make sure this doesn’t happen to you. It will moisturize your hair and leave it smooth for the entire day.
Your hair will look great if you include this step in your curl-straightening process.
You May Also Like:
Apply A Heat Protectant to Wet Curls
The last step in prepping your hair is applying a heat protectant. This product is crucial for your hair’s health. Straighteners directly expose your hair to a lot of heat.
Since you’re going to be going over each strand of your hair multiple times with this damaging product, you must take precautionary measures to minimize the harm caused. Make sure to coat every strand liberally to achieve maximum protection.
Heat protectants also reduce frizziness which is super important when it comes to curly hair. While flyaway and frizz make sense in curly hair and give it a messy look, the same doesn’t work for straight hair.
Straight hair must be slick and smooth. As such, you should take whatever steps are necessary to minimize frizziness and enhance smoothness. You can do just that with heat protectants.
Straighten Your Hair
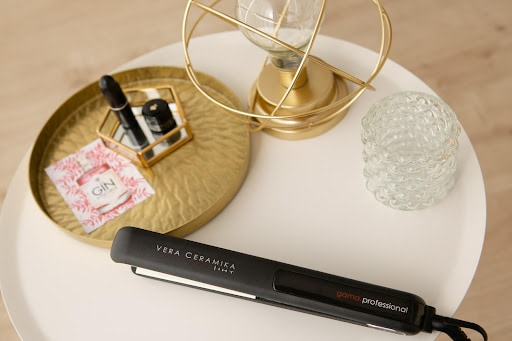
Once you’ve prepped your hair, you can move on to the straightening part. This is super simple and only involves three steps:
- Part your hair into 6 to 8 sections
- Straighten hair
- Make any last-minute adjustments


Part Your Hair into 6 to 8 Sections
Parting your hair into sections gives you a lot more control over how you straighten your curls. It’s easier to control your heating tool and get the straightening right the first time instead of having to redo it multiple times.
Depending on the length and volume of your hair, you’ll need to make 6 to 8 sections. Start by dividing your hair into two down the middle. Next, use a hair tie or clip to secure one half to the side.
Then make sections within one half. Start by pinning the top ⅔ rds of your hair up. Working from the bottom upwards is easier than going the other way around.
You don’t need to do the same on the other side until you’ve gotten through the straightening for the first side.
Straighten Hair
Start by separating a small portion of the bottom-most layer of your hair. Pull this section taut and straighten it with your tool. Then, move from the root outwards.
It’s best to move in small strands, so you only need to go over each part of your hair twice.
Once you’ve done with one section, unpin the section on top of it and straighten that. Keep going till you’ve made it through your entire head and your hair is smooth and shiny.
Make Any Last Minute Adjustments
Run stubborn strands through your straightener again until you’re satisfied with the result. Then put the finishing touches on your look.
Tips for Straightening Curly Hair
Here is our collection of 5 tips for straightening curly hair. They’re based on common mistakes people tend to make when styling their hair.
Make Sure Your Hair is Completely Dry
It’s essential to make sure each strand of hair on your head is completely dry before you start straightening it. Skipping over this step will lead to you frying your hair and an untidy end look.
Sometimes you may want to start straightening wet hair, but that’s a huge hair care no-no. You won’t save time. Instead, it will take you extra long to deal with the drying hair.
Use The Right Temperature for Hair Thickness
Thick and curly hair straightens best at temperature settings between 350 and 400. Any less won’t get the sleek look you want.
However, you can’t start at 400, or you’ll burn your hair. So start at a lower setting and gradually build up to a higher temperature.
Don’t Use Too Many Styling Products
Overdoing styling products can ruin your look. So avoid any additional gel, mousse, or oil that isn’t mentioned in the steps listed above. If you want to air-dry your curly hair, we’d recommend using a styling product, but that isn’t necessary when you’re straightening your hair.
This is because styling products weigh down the hair, and you’re already settling your curls down with a straightener. So you reasonably don’t need any mousse or gel if you’re using a good straightener.
Straighten Your Hair in Small Sections
Straighten small sections of your hair at one time. This will give you greater control over your tool as well as avoid the need to go over each strand multiple times.
Curly hair tends to be thick and clump up, so taking big sections at once will make it impossible to straighten it. You’ll spend more time than necessary and also end up damaging your hair unnecessarily.
Deep Condition to Repair Your Hair
Curly hair is naturally dry. Straightening and exposing it to a lot of heat will only further dry out your hair. Using a leave-in conditioner before you start the process will minimize the damage.
Deep condition when you wash your hair after straightening it to repair any damage your hair does sustain. This will hydrate it and make it soft again. If you deep-condition regularly, you’ll get shiny curls generally as well.
Final Thoughts
Straightening curly hair is a straightforward process as long as you know about the rules and abide by them.
You need clean hair, so it is essential to take a shower before you start straightening. Wash your hair with quality silicone and sulfate-free products. Squeeze out extra moisture and apply a leave-in conditioner.
Then you need some heat protectant. Apply it thoroughly to each strand of hair. Make sections in your hair and start straightening. Start from the bottom-most layer and work upwards. Once you’re done, make your finishing touches and enjoy your evening.
Remember to make sure your hair is completely dry before you start straightening, and use the heating tool at the right temperature for your hair type. Avoid using too many styling products. It is very easy to overdo it, especially when you’re straightening curly hair.
Once you’re done with your straight hair and are going to take a shower, deep condition your hair. This will hydrate your hair and restore moisture to your curls, making them smooth, shiny, and soft.